We use cookies to offer you a better experience. For more information on how we use cookies you can read our Cookie and Privacy Policy.
Everything Button for Chromebook: What Can It Do?
The Everything Button may only take up a small spot on the left-side of your Chromebook’s keyboard, but its role is much bigger than it may seem. With a huge suite of associated features, the Everything Button is an incredibly important tool for all Chromebook owners. It combines online and offline functionality, and makes both much easier to navigate.
Even so, not much has changed about the basic appearance of a keyboard in a while. For users who are new to Chromebook, we’ll provide some background on the origins of the Everything Button. For those more familiar with Chromebook, we’ll also include a detailed inventory of the most important and popular Everything Button functionality.
What is the Everything Button on a Chromebook?
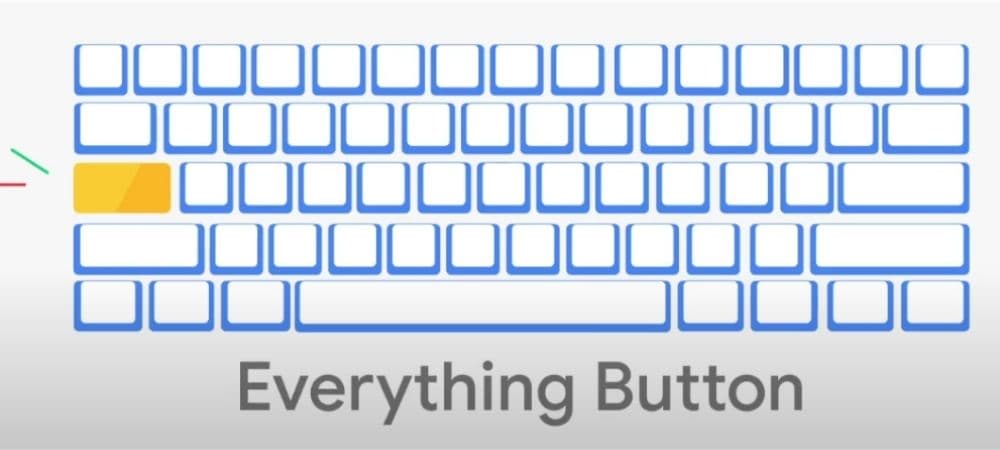
The “Everything Button” is the modern name for one of the device’s key innovations: the launcher or “search key” on Chromebooks. In late 2020, Google announced that it was replacing the launcher button with the Everything Button.
According to Google, the inspiration for the name change was simplicity. “The new name for the ‘Launcher’ [key] in this campaign was chosen to reflect user feedback and highlight that Chromebooks have a dedicated button on their keyboards that enables them to search through files, apps, Drive, the web, and more.” 1
As you may know, the Chromebook is optimized for the cloud, with a design that centers on a robust web experience through Google’s Chrome OS. And while the Everything Button is built to improve your online use, it’s helpful when you’re not connected, too. The new name emphasizes this universal usage, inviting Chromebook users to treat it as both a first recourse and last resort.
Popular ways to use the Everything Button
There are lots of ways to use Chromebook’s Everything Button. At its core, the Everything Button, and its predecessor the Launcher key, helps to streamline workflows. That’s why it wraps up so many different functions under one heading.
In this section, we’ll explore some of the most useful and popular ways to get the most from this Chromebook feature.
1. Manage your Chromebook apps
You can navigate and manage your personal app collection with ease by using the Everything Button. This functionality is actually why its predecessor was dubbed the launcher key – it helped to launch the most critical applications. This is also why so many people refer to it as the “app launcher.”
If you need to start using a particular app, just hit the everything key and enter the app you want. You can also select it from a list of recent apps or browse your entire collection. This also unlocks another hack – launching Google Assistant so you can use your voice to do just about anything, from searching the web to accessing other apps and files.
2. Extensive online and local search functionality
Hitting the Everything Button displays a list of recent apps so you can easily access your most regularly-used tools. For example, if you spend more time on YouTube and Google Drive than other apps, you’ll see those immediately when you hit the Everything Button. To search the full index, simply click the up-arrow key after hitting the Everything Button.
You can also quickly search the web from the same interface, so you don’t have to click over to your browser. Over time, this is sure to save time and potential headaches from repeatedly navigating from one app to another.
3. Start a new Gmail draft
While you now know that you can use the Everything Button to access your entire app collection, some apps provide an extra dose of functionality built into the search interface. Gmail is a great example. In addition to playing a big role in most Chromebook routines, Gmail allows you to start composing a new email draft from your Everything Button search.
To open a new draft, hit the Everything Button and find your Gmail icon. Again, if you use it a lot, you’ll see it immediately. Otherwise, you can use the search function or hit the up key to peruse the app index. Once you find it, simply right-click and select compose to open your new draft.
4. Switch between screens with an external monitor
Do you use an external monitor with your Chromebook? Well, the Everything Button is about to make your setup even more convenient because it serves as a hotkey for shifting between the external monitor and your Chromebook’s built-in display. Once your external monitor is hooked up, simply press the “Everything Button + Alt + M” simultaneously to switch over. If you need to switch back, just use the same hotkey combination again.

5. Quickly navigate documents
Scrolling up and down long documents can be tedious, but not with the Everything Button. It provides at least one way to cut back on that hassle. To cut out mouse scrolling and your scrollbar, use the Everything Button and the left-arrow key to quickly jump back to the beginning of a doc. And to zoom back to the end, use the Everything Button and the right-arrow key.
6. Easy access to your clipboard
This feature is a bit of a two-for-one, because it involves another bit of recently added Chromebook functionality: the enhanced clipboard. If you’ve ever used copy and paste, there’s a chance you’ve seen a system notification that the selected content was added to a “clipboard.” This is where your computer stores copied text or media, so you can paste it wherever you need to.
For Chromebook users, the enhanced clipboard feature provides streamlined access to your most recently copied text. Just click the Everything Button and the v-key together. When you do, your Chromebook should load a handy dropdown with up to 5 of your latest text entries. Writers and editors – you’re welcome.
7. More to come?
As the name implies, the Everything Button is meant to play a big part in how you interact with and use your Chromebook. With new features added to the Chrome OS at a consistent rate, it’s inevitable that the Everything Button’s functionality will grow in kind. And while you may not use every single feature on our list every day, chances are you’ll take advantage of at least one or two of these hacks on a daily basis.
How to activate caps lock on Chromebook
Fortunately for Chromebook users who regularly use the caps lock function, Google and their partner manufacturers like HP have made it easy to activate using a hotkey or keyboard shortcut. In this case, the keyboard combination is simple: “Everything + Alt.”
That’s it! And when you want to turn off caps lock, simply hold down the same hotkey combination again.
Why was the caps lock button removed?
Ultimately, the decision was meant to address several factors. In particular, there’s a diminished workplace need for a dedicated caps lock button, which allows for greater consolidation of space. After all, why have a dedicated key for a less popular activity, especially when you can integrate it, along with other functions, into a single “Everything Button.”
Can you reset the Everything Button?
There are some specialist tasks that may require using the caps lock key, which means you may want to reset the Everything Button back to its traditional caps lock functionality. Fortunately, this is pretty easy to do:
- Click the clock readout in the lower-right corner of your Chromebook’s home screen.
- Find and click the gear-shaped Settings icon in the new window display.
- Open the Device tab from the left sidebar.
- Select Keyboard settings to load a complete list of remappable keys.
- Find the “Everything Button option” and open the dropdown to the right for a complete list of command options.
- Find and select the Caps Lock option from the dropdown.
- To revert back to Google’s full functionality, return to your keyboard settings and reset the dropdown back to the Everything Button option.
Remapping keyboard commands is a great way to get started with Chromebook, especially if you’re more experienced with Windows or other operating systems. But in the long run, you will sacrifice a lot of extra functionality by not using the Everything Button to its full potential. We suggest giving it a shot once you’re more at home with your new Chromebook.

“Everything” in a nutshell
Rebranding the Launcher key into the Everything Button was simply the logical choice. The more functionality Google packs into a single keyboard button, the less sense it makes to give it a narrow designation, especially because it does so much more than simply launch applications.
If you want to look even deeper into the Everything Button and other features, click over to Google’s Chromebook support page for a comprehensive list of help topics.
About the Author: Dwight Pavlovic is a contributing writer for HP Tech Takes. Dwight is a music and technology writer based out of West Virginia.
Article reposted with permission from HP Tech Takes
Recent Posts