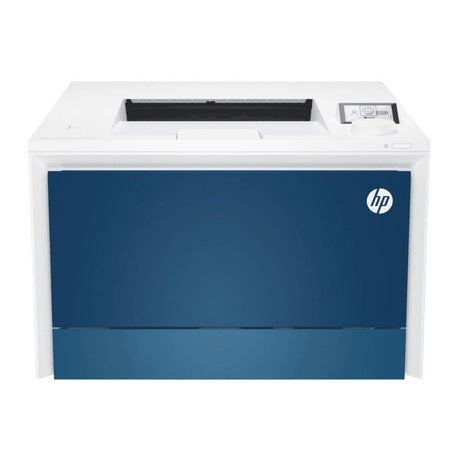
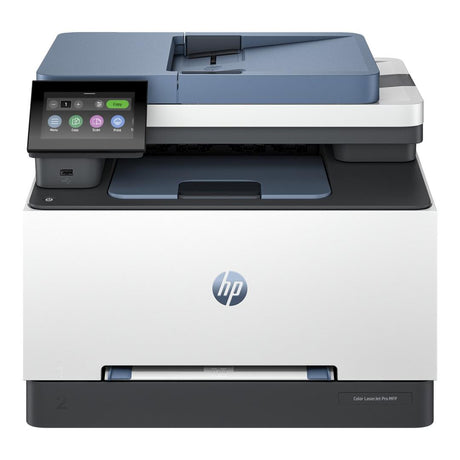
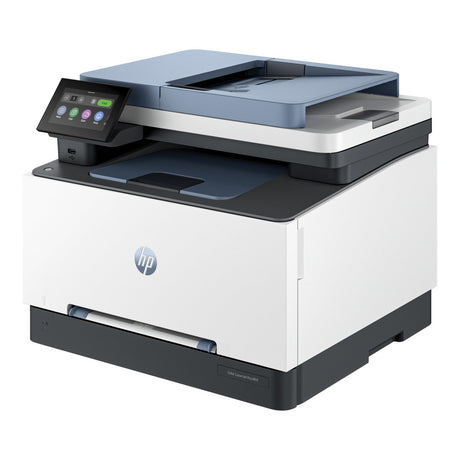
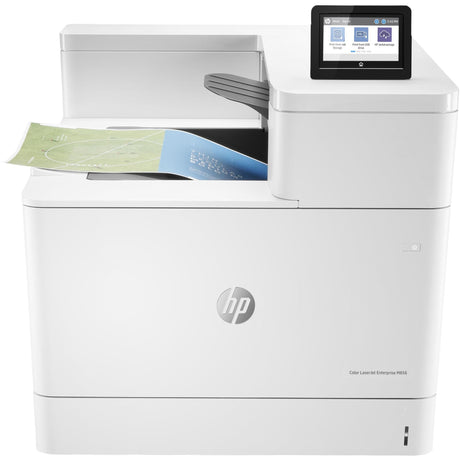
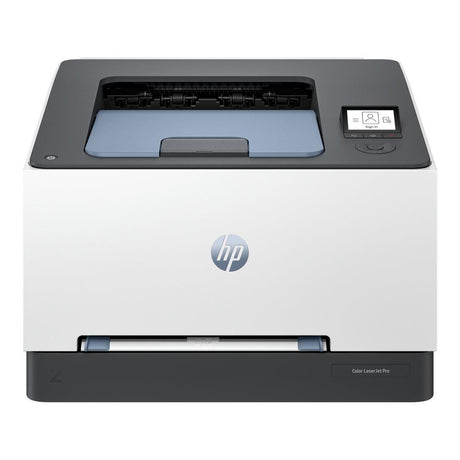
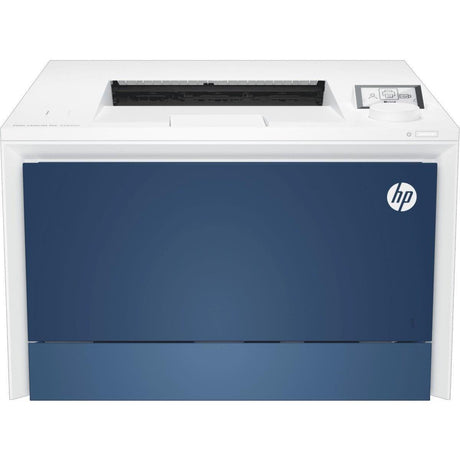
HP LaserJet Pro color printers
Best for small and medium-sized businesses or work teams needing reliable, high-quality color laser printing for daily use.
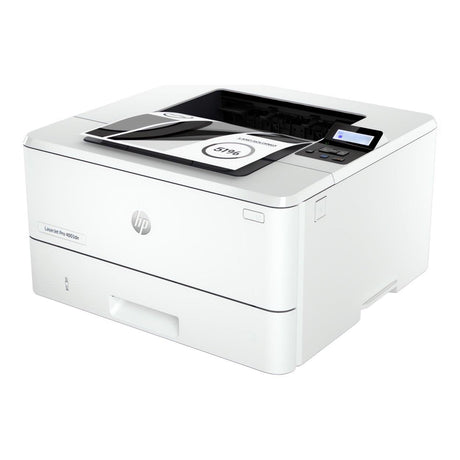
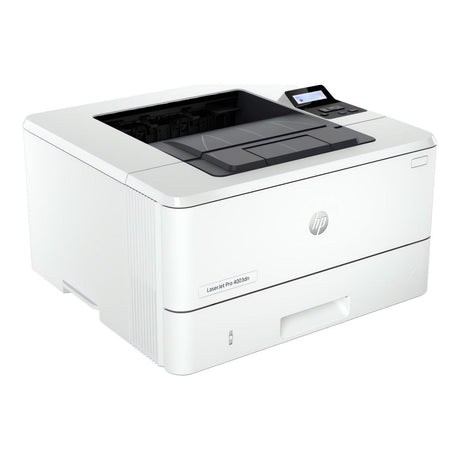
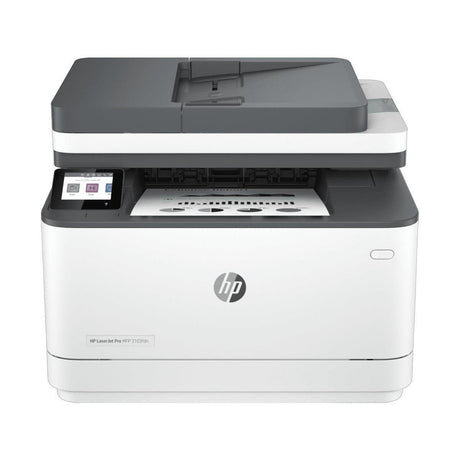
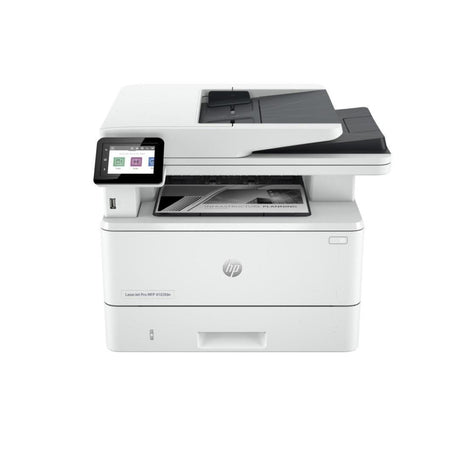
 HP LaserJet Pro black & white printers
Best for small and medium-sized businesses or work teams needing reliable, high-quality black and white laser printing for daily use.
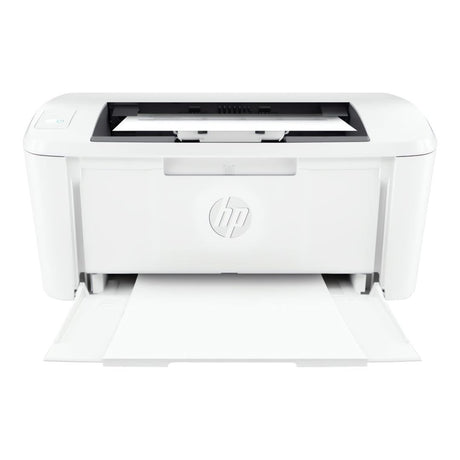
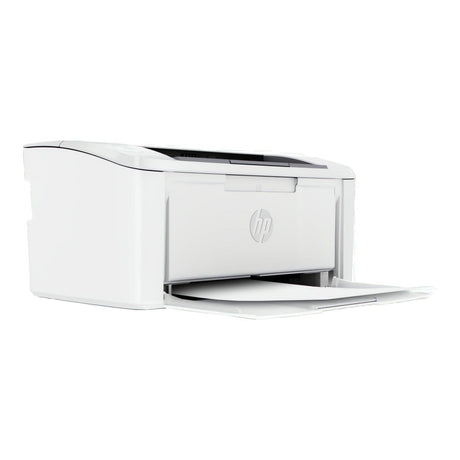
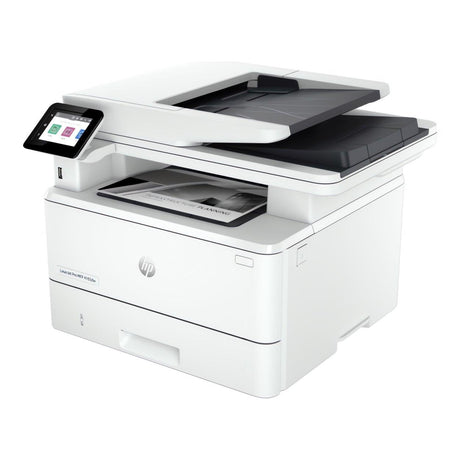
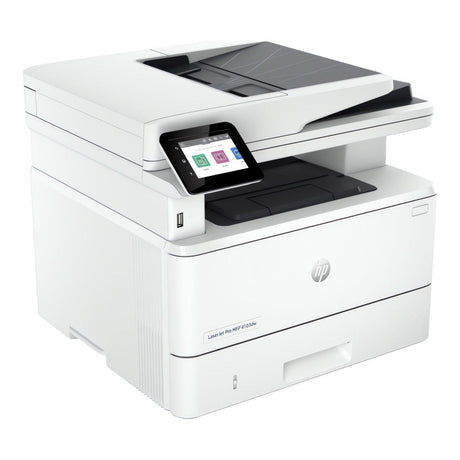
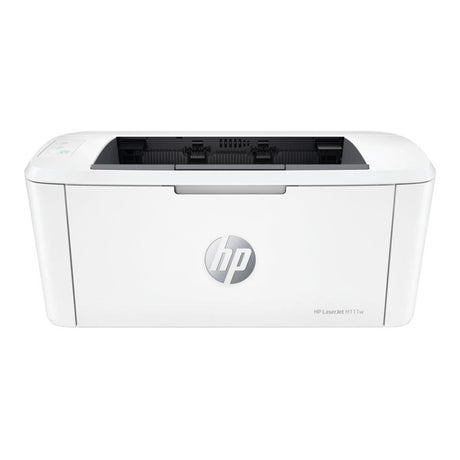
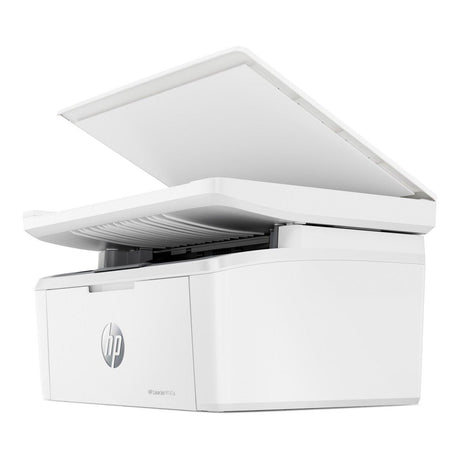
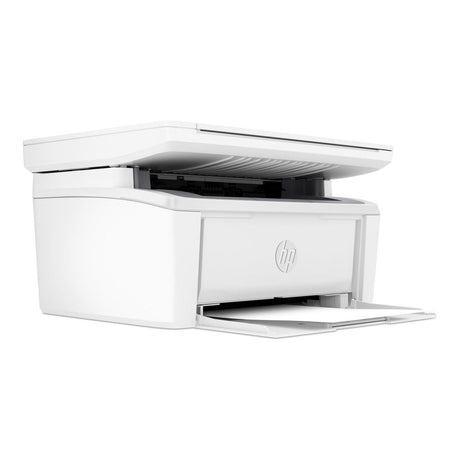
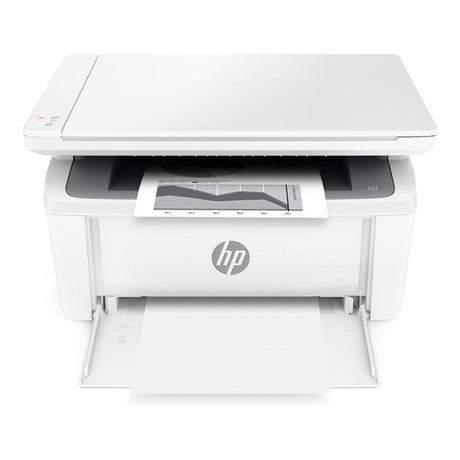
 HP LaserJet printers
Best for printing high-quality black and white forms and documents in home offices with limited space.
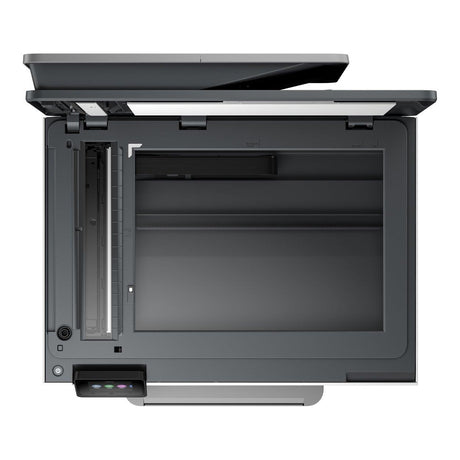
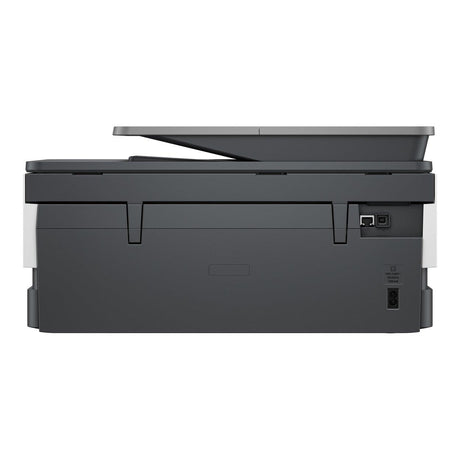
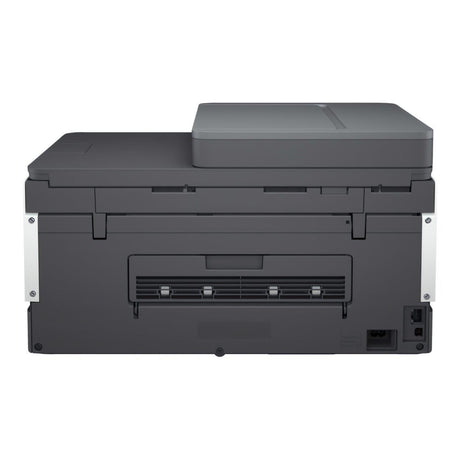
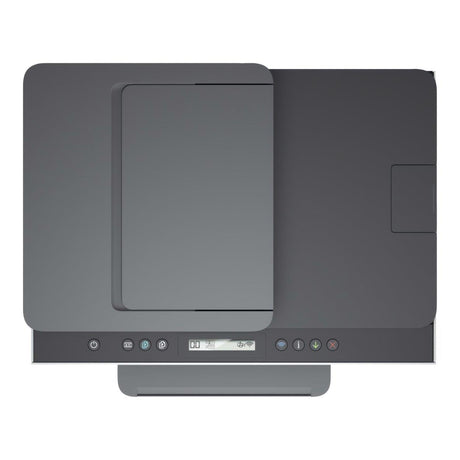
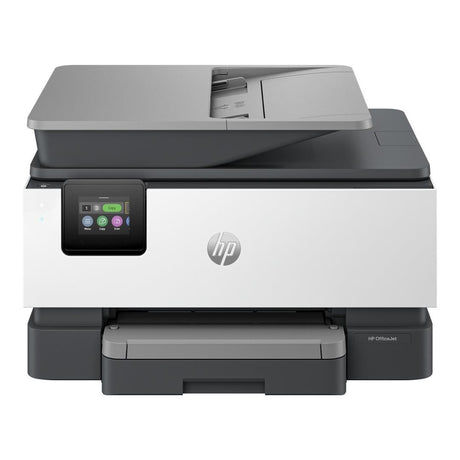
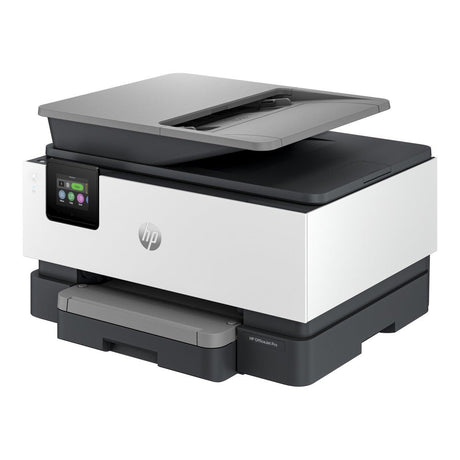
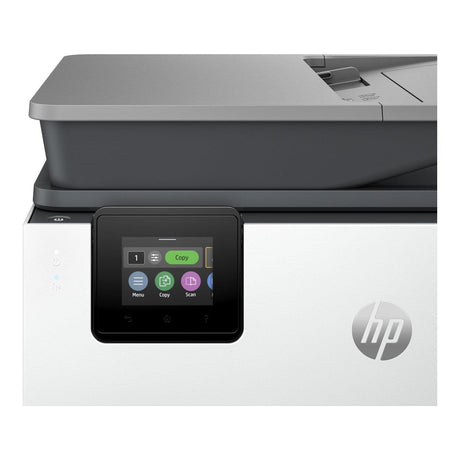
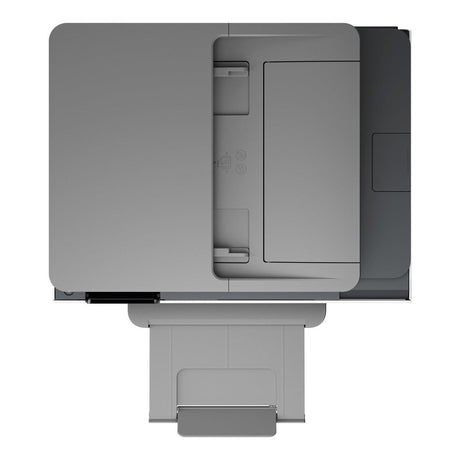
 HP OfficeJet Pro printers
Best for higher volume printing and all-around productivity in your home or home office.
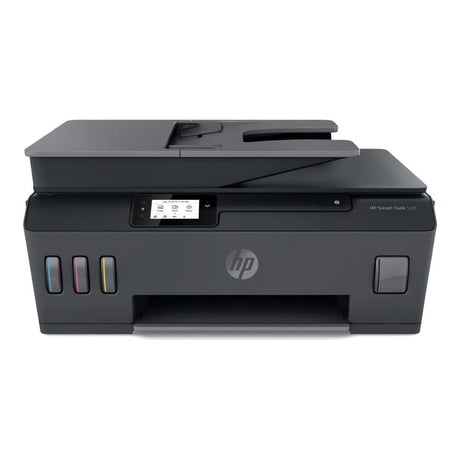
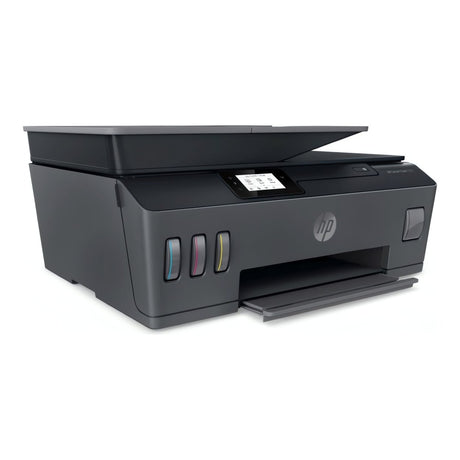
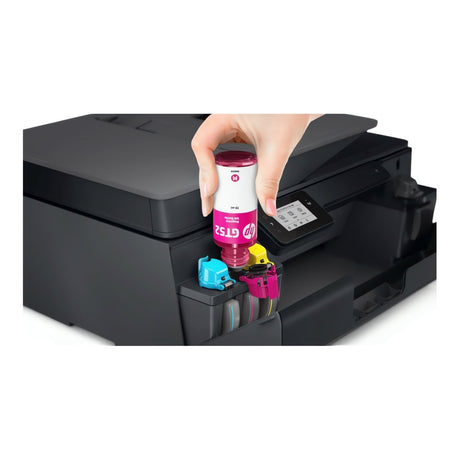
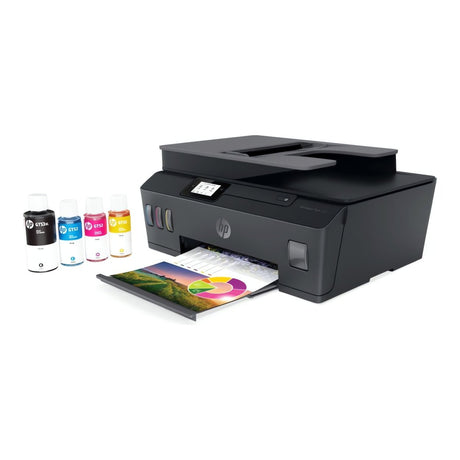
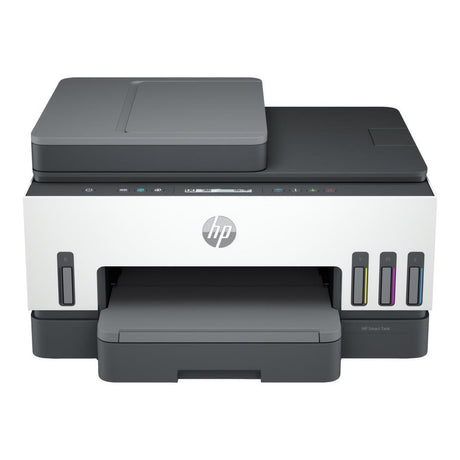
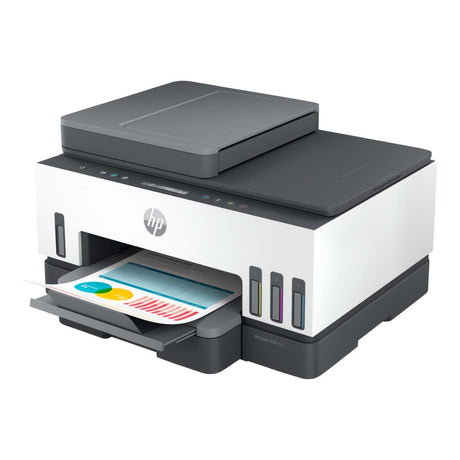
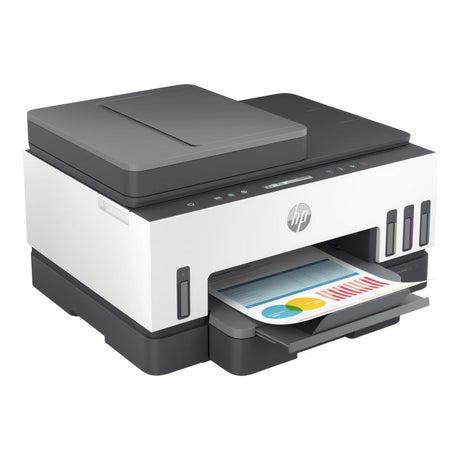
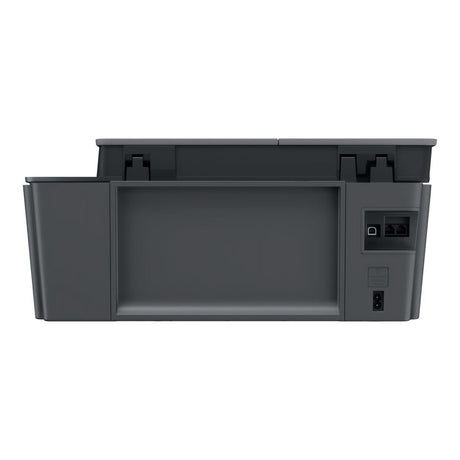
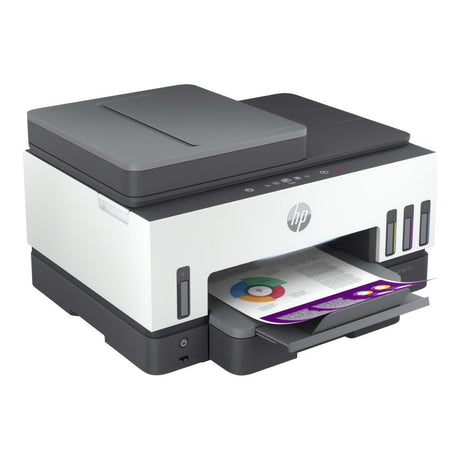
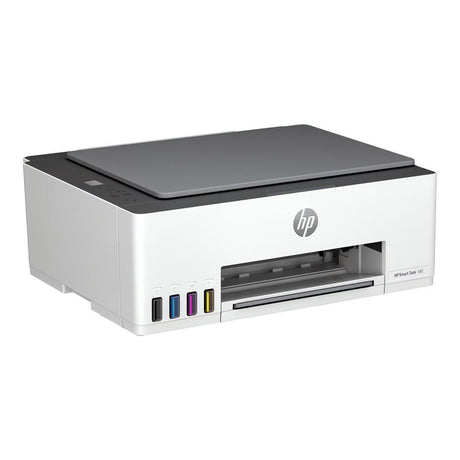
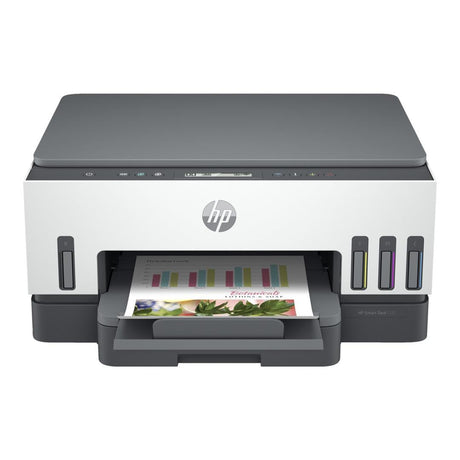
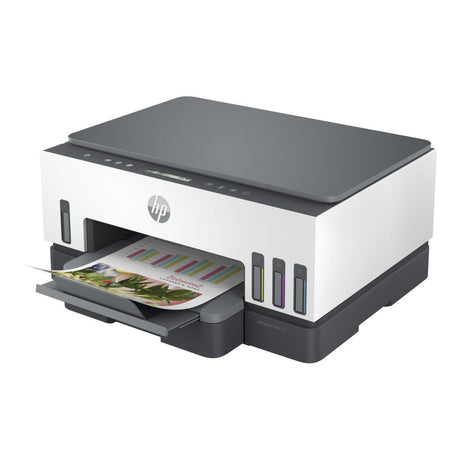
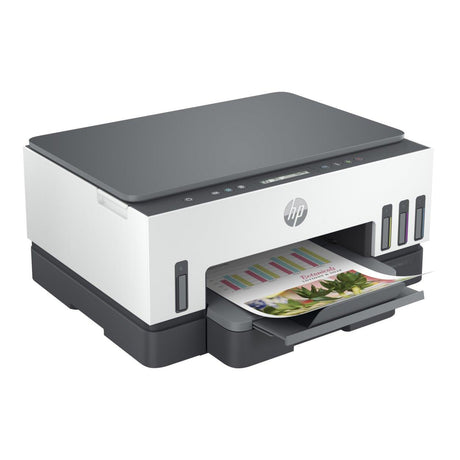
 HP Smart Tank printers
Best for smart, intuitive ink tank printing for busy schedules.

- Sale
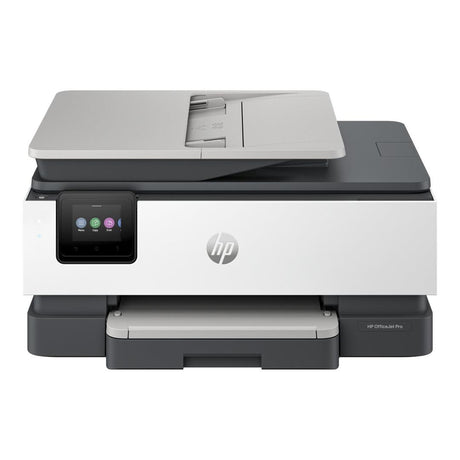
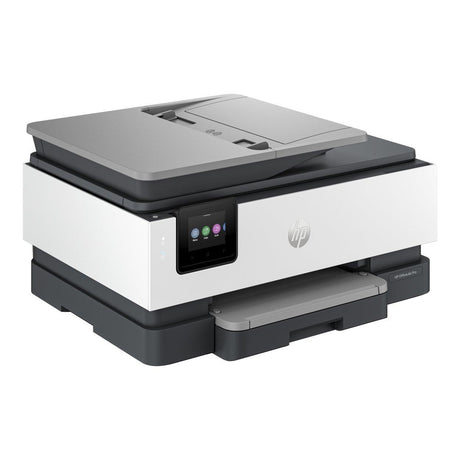
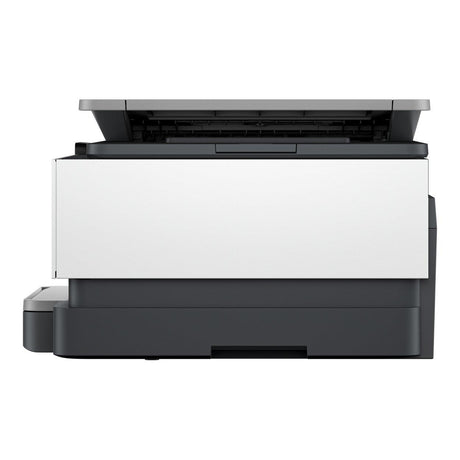
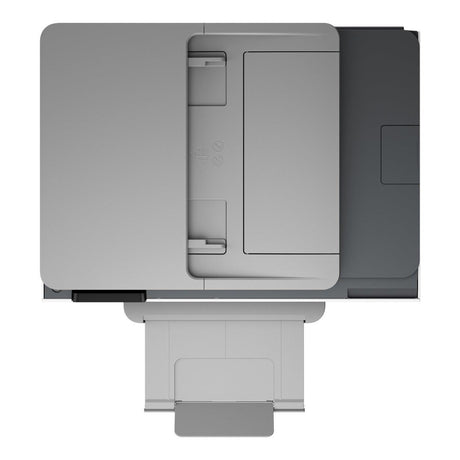
HP OfficeJet Pro 8123 Multifunction All-in-One Wireless Colour Printer 405W0C
- Functions:Copy Print Scan
- Category:Multifunction Printers
R 1,549.00R 1,849.00Unit price /Unavailable -
- Sale
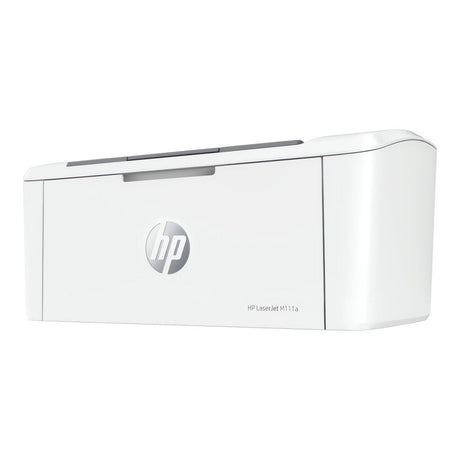
HP LaserJet M111a A4 Mono Laser Printer 7MD67A
- Functions:Print
- Category:Laser Printers
R 2,399.00R 2,850.00Unit price /Unavailable -
- Sale
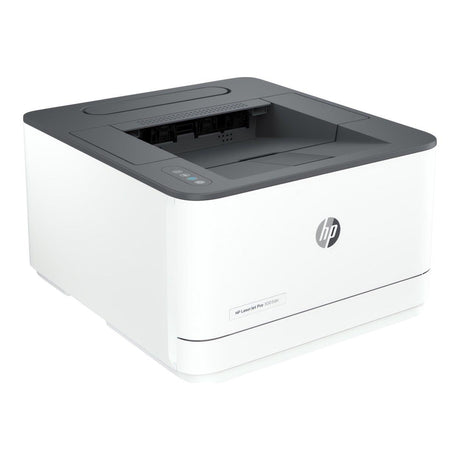
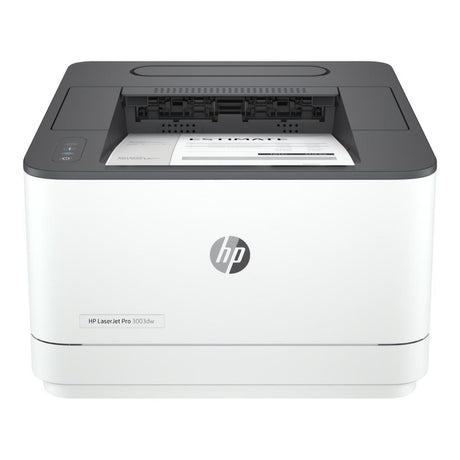
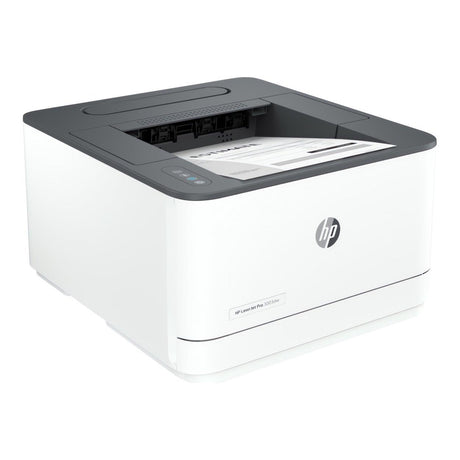
HP LaserJet Pro 3003dn A4 Mono Laser Printer 3G653A
- Functions:Print
- Category:Laser Printers
R 3,999.00R 4,699.00Unit price /Unavailable -
- Sale
HP Smart Tank 530 Wireless A4 Multifunction Colour Inkjet Home & Office Printer 4SB24A
- Functions:Copy Print Scan
- Category:Ink Tank Printers
R 4,499.00R 4,799.00Unit price /Unavailable -
- Sale
HP Smart Tank 750 Wireless A4 Multifunction Colour Inkjet Home & Office Printer 6UU47A
- Functions:Copy Print Scan
- Category:Ink Tank Printers
R 6,199.00R 7,299.00Unit price /Unavailable -
- Sale
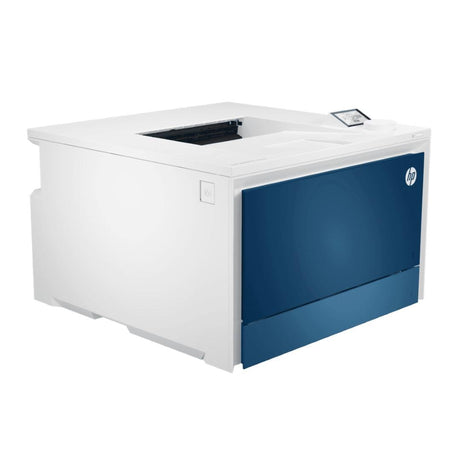
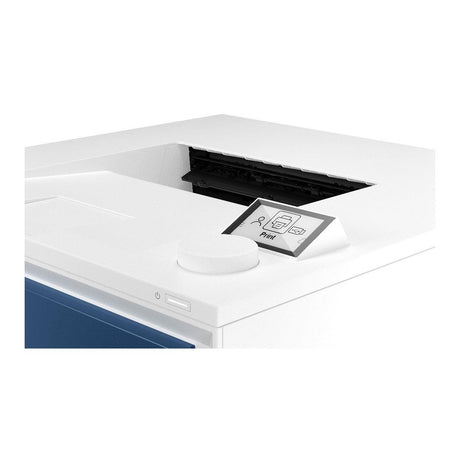
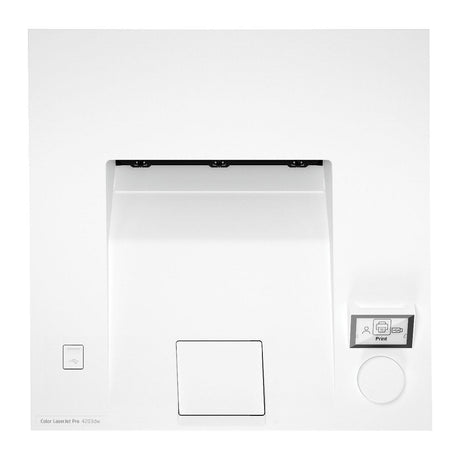
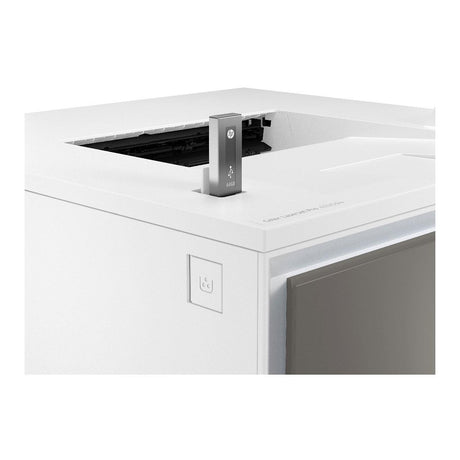
HP LaserJet Pro 4203dw Wireless Colour Printer 5HH48A
- Functions:Print
- Category:Laser Printers
R 9,599.00R 11,299.00Unit price /Unavailable -
HP OfficeJet Pro 9120 Multifunction All-in-One Wireless Colour Printer 4V2M9C
- Functions:Copy Print Scan
- Category:Multifunction Printers
R 3,299.00Unit price /Unavailable-
HP OfficeJet 202 A4 Multifunction Colour Inkjet Mobile Business Printer N4K99C
- Functions:Print
- Category:Inkjet Printers
R 6,399.00Unit price /Unavailable-
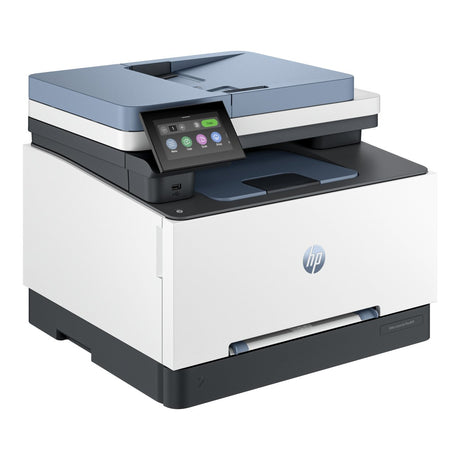
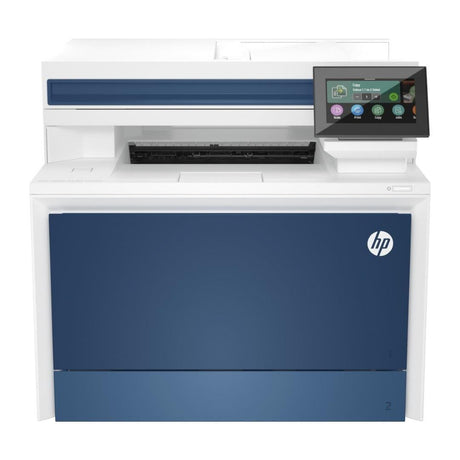
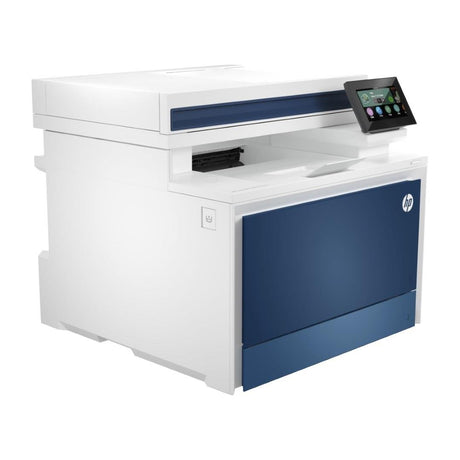
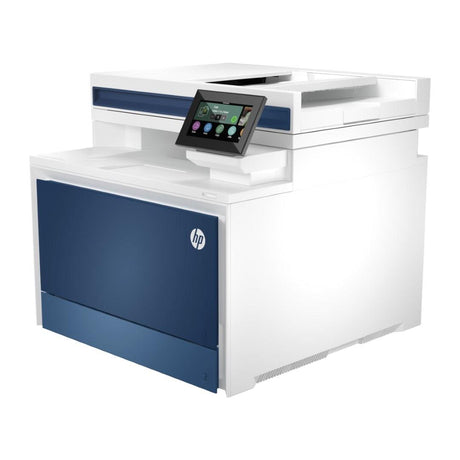
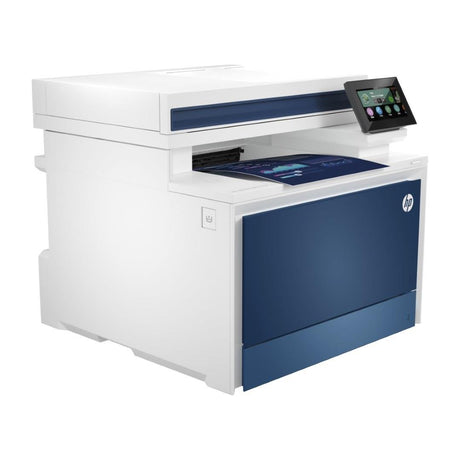
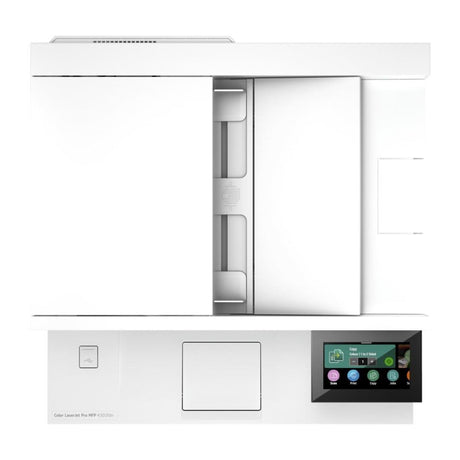
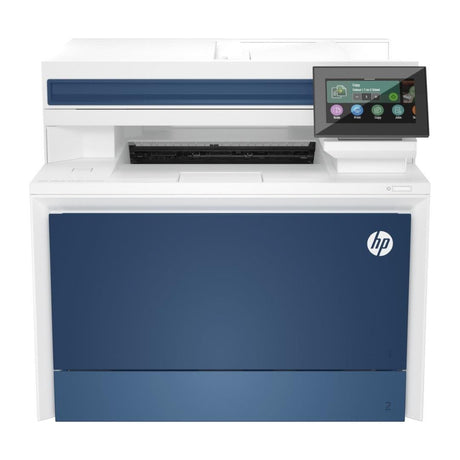
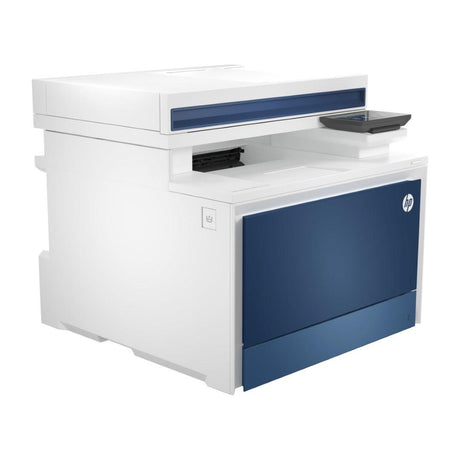
HP Color LaserJet Pro MFP 3303sdw A4 Colour Laser Printer 499M6A
- Functions:Copy Print Scan
- Category:Multifunction Printers
R 7,699.00Unit price /Unavailable-
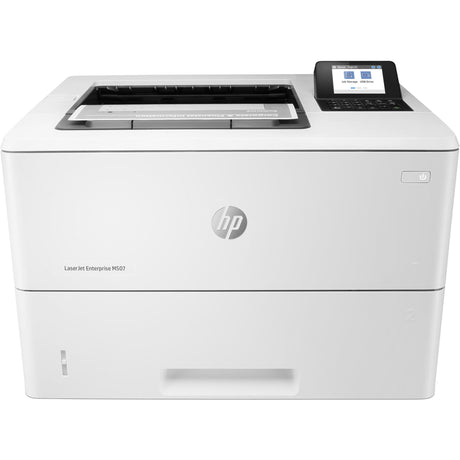
HP LaserJet Enterprise M507dn Mono A4 Duplex Laser Printer 1PV87A
- Functions:Print
- Category:Laser Printers
R 11,399.00Unit price /Unavailable
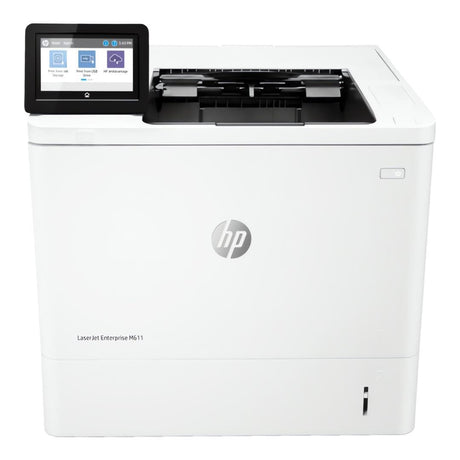
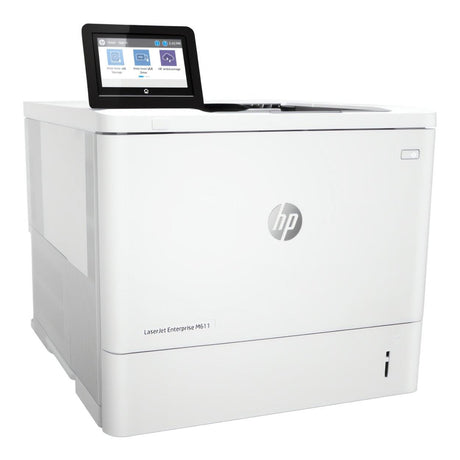
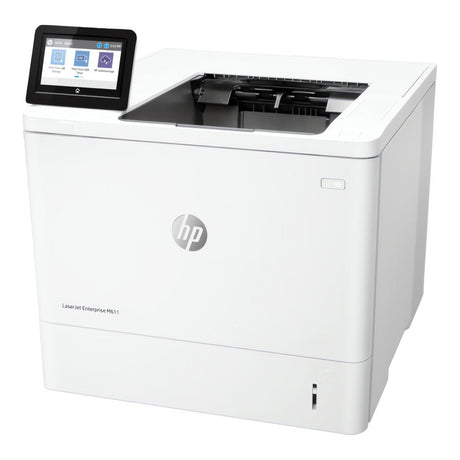
HP LaserJet Enterprise M612dn Mono A4 Duplex Laser Printer 7PS86A
- Functions:-
- Category:Laser Printers
R 19,299.00Unit price /Unavailable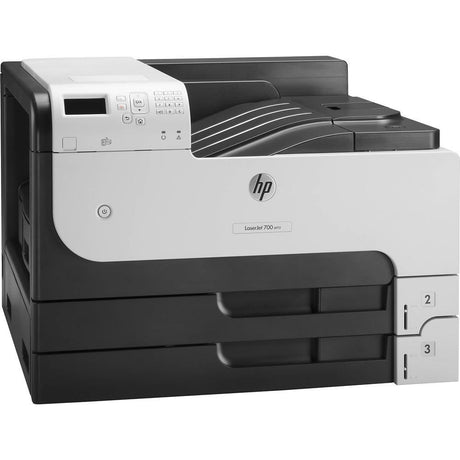
HP LaserJet Enterprise 700 M712dn A3 Mono Laser Printer CF236A
- Functions:Print
- Category:Laser Printers
R 34,999.00Unit price /Unavailable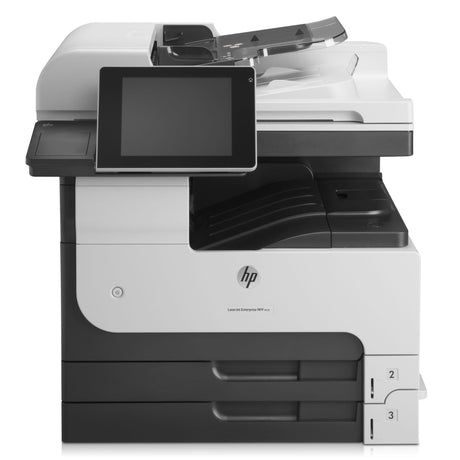
HP LaserJet Enterprise M725dn A3 Multifunction Mono CF066A
- Functions:Copy Print Scan
- Category:Multifunction Printers
R 50,499.00Unit price /Unavailable
HP LaserJet Enterprise Flow M830z A3 Multifunction Mono Laser Business Printer CF367A
- Functions:-
- Category:Multifunction Printers
R 91,999.00Unit price /Unavailable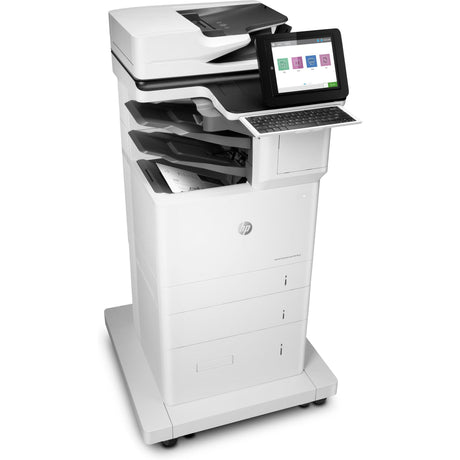
HP LaserJet Enterprise Flow M635z Laser 1200 x 1200 DPI 65 ppm A4 7PS99A
- Functions:-
- Category:Multifunction Printers
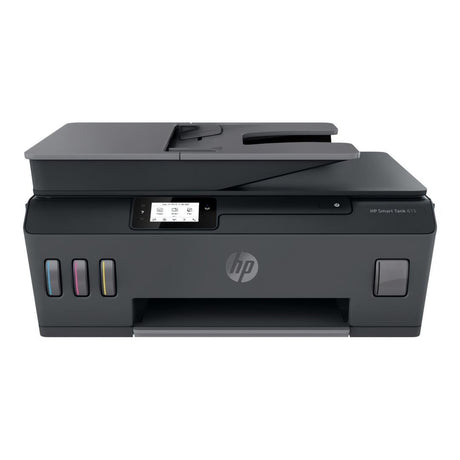
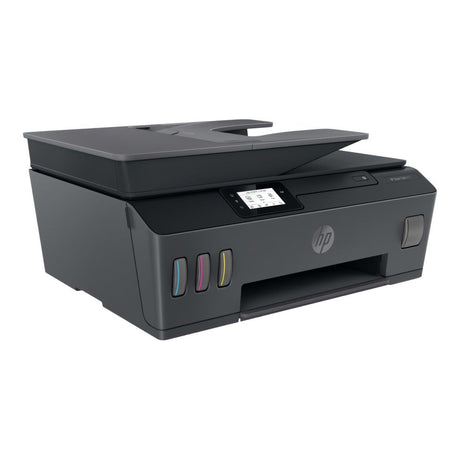
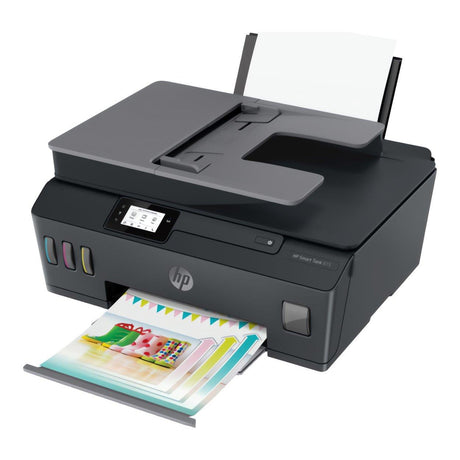
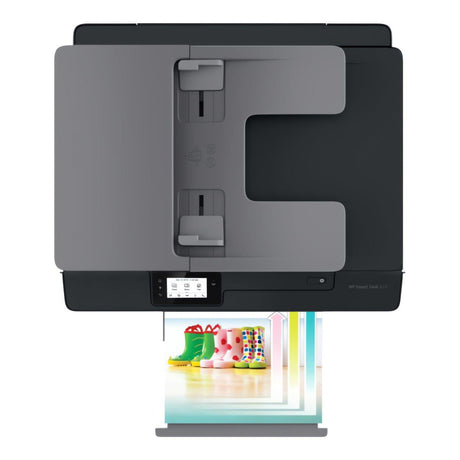
R 110,999.00Unit price /UnavailableHP Smart Tank 615 Wireless All-in-One Y0F71A
- Functions:Copy Fax Print Scan
- Category:Ink Tank Printers
R 3,899.00Unit price /Unavailable-
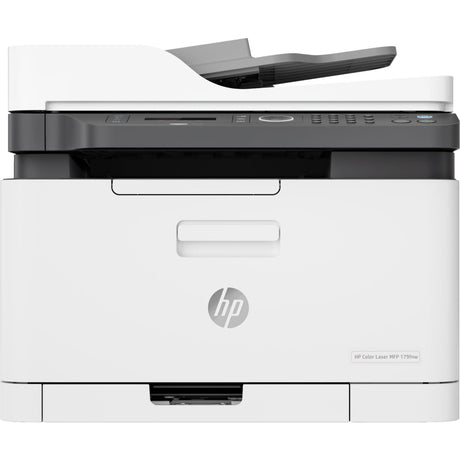
HP Color Laser 179fnw A4 Multifunction Colour Business Printer 4ZB97A
- Functions:Copy Print Scan
- Category:Multifunction Printers
R 8,199.00Unit price /Unavailable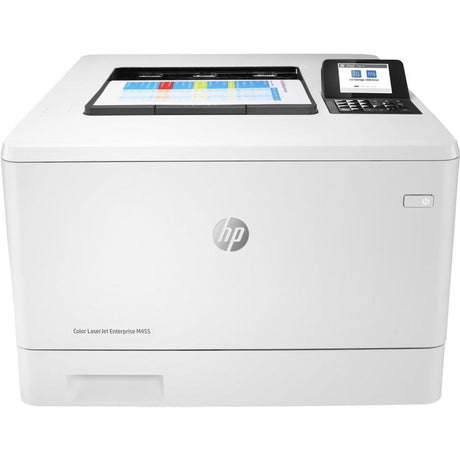
HP LaserJet Enterprise M455dn Color A4 Duplex Laser Printer 3PZ95A
- Functions:Print
- Category:Laser Printers
R 12,199.00Unit price /Unavailable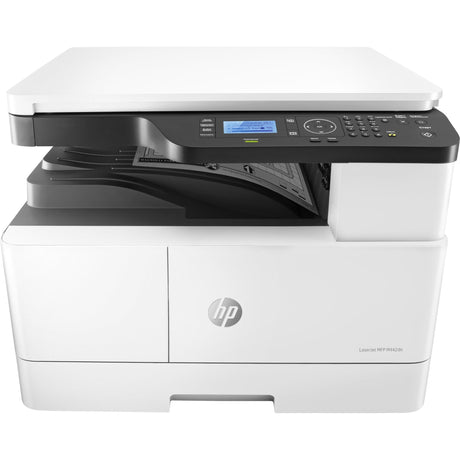
HP LaserJet MFP M442dn Laser A3 1200 x 1200 DPI 24 ppm Printer 8AF71A
- Functions:Copy Print Scan
- Category:Multifunction Printers
R 16,699.00Unit price /UnavailableHP LaserJet Enterprise M611dn Mono A4 Duplex Laser Printer 7PS84A
- Functions:Print
- Category:Laser Printers
R 12,699.00Unit price /Unavailable-
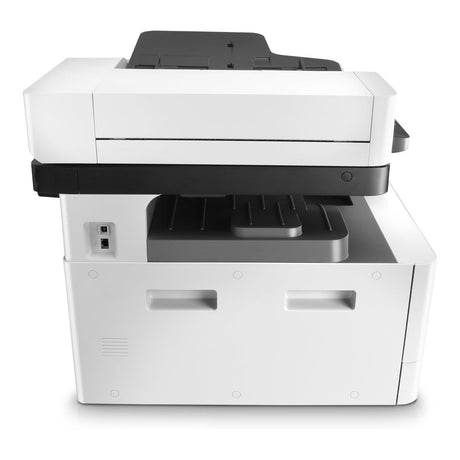
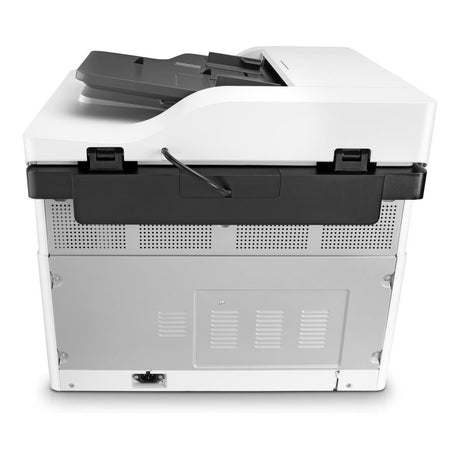
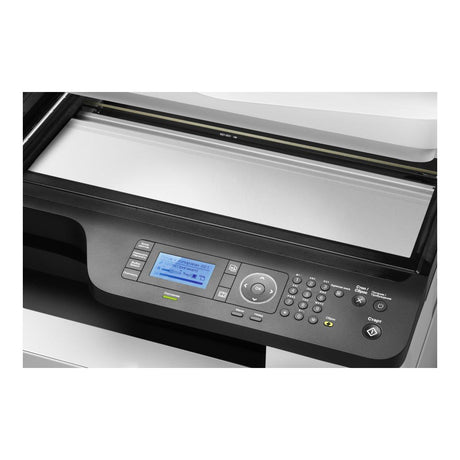
HP LaserJet M443nda A3 Multifunction Mono Laser Office Printer 8AF72A
- Functions:Copy Print Scan
- Category:Multifunction Printers
R 24,499.00Unit price /Unavailable-
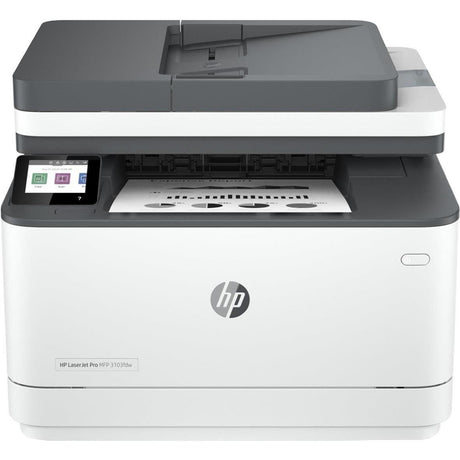
HP LaserJet Pro MFP 3103fdw A4 Multifunction Laser Office Printer 3G632A
- Functions:Copy Print Scan
- Category:Multifunction Printers
R 7,999.00Unit price /Unavailable- Sale
HP Smart Tank 790 Wireless Duplex All-in-One Printer 4WF66A
- Functions:Copy Print Scan Fax
- Category:Ink Tank Printers
R 7,699.00R 8,199.00Unit price /Unavailable -
HP Color LaserJet Enterprise M856dn Colour A3 Duplex Laser Printer T3U51A
- Functions:-
- Category:Laser Printers
R 76,999.00Unit price /Unavailable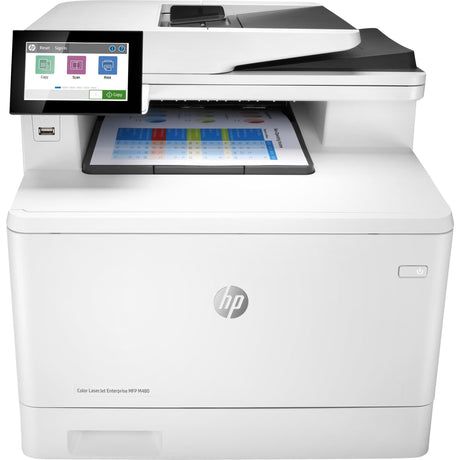
HP Color LaserJet Enterprise M480f A4 Multifunction Business Printer 3QA55A
- Functions:Copy Print Scan
- Category:Multifunction Printers
R 17,999.00Unit price /UnavailableHP LaserJet Enterprise M430f Multifunction Mono A4 Duplex Laser Printer 3PZ55A
- Functions:Copy Print Scan
- Category:Multifunction Printers
R 11,799.00Unit price /Unavailable-
HP LaserJet M236sdw A4 Multifunction Mono Laser Office Printer 9YG09A
- Functions:Copy Print Scan
- Category:Multifunction Printers
R 5,999.00Unit price /Unavailable-
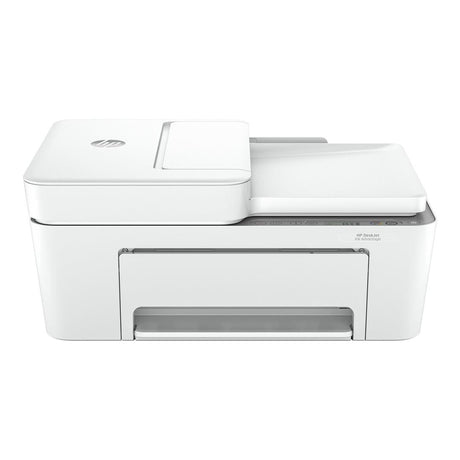
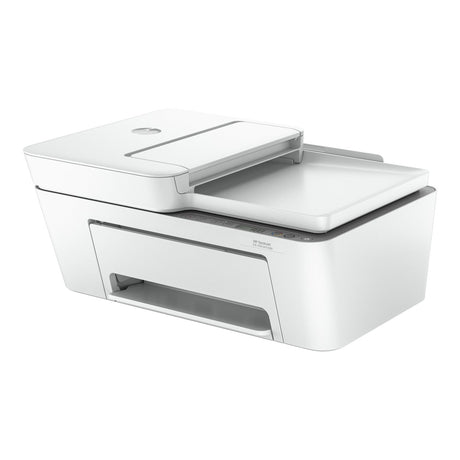
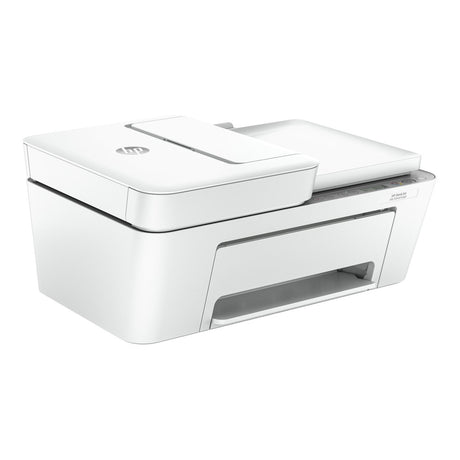
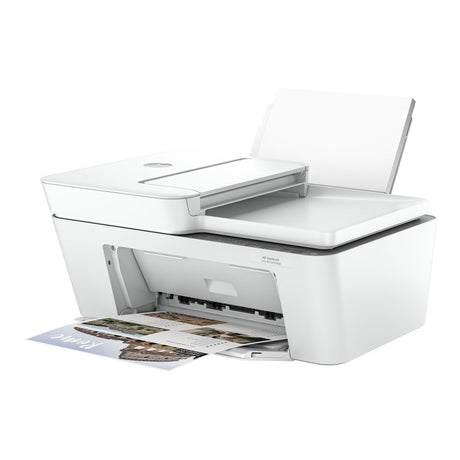
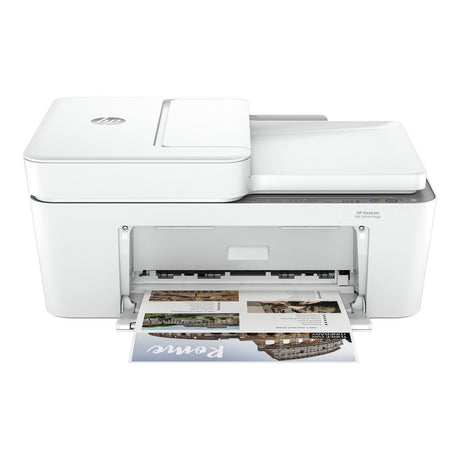
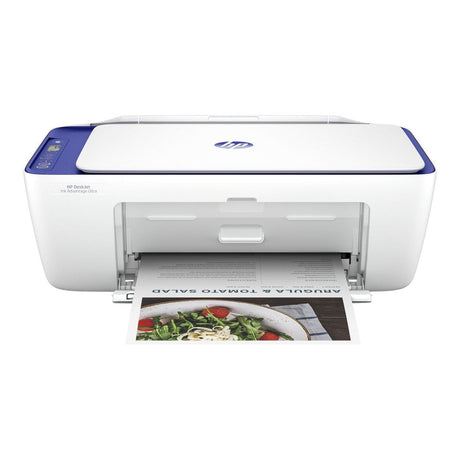
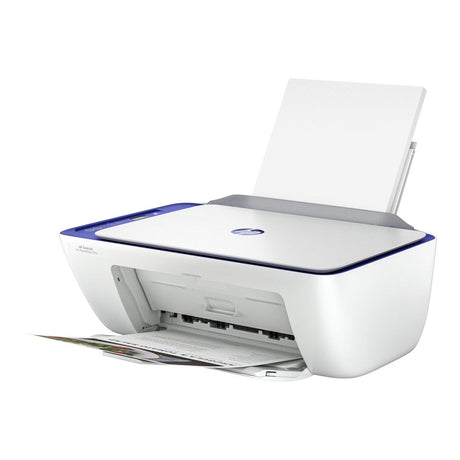
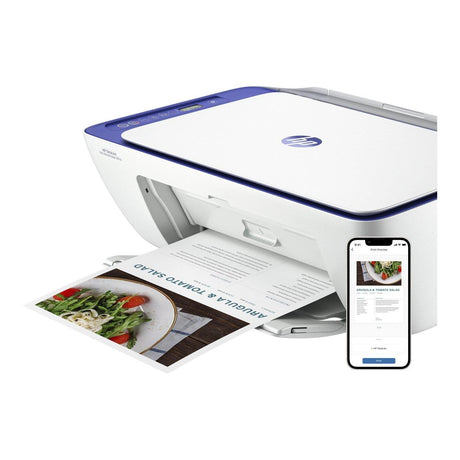
HP DeskJet Ink Advantage 4276 A4 All-in-One Printer 60K49C
- Functions:Copy Print Scan
- Category:Multifunction Printers
R 1,850.00Unit price /Unavailable-
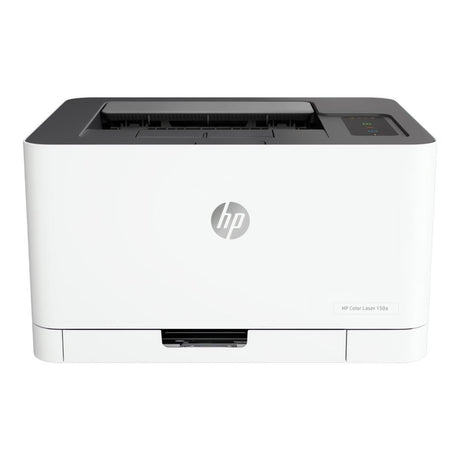
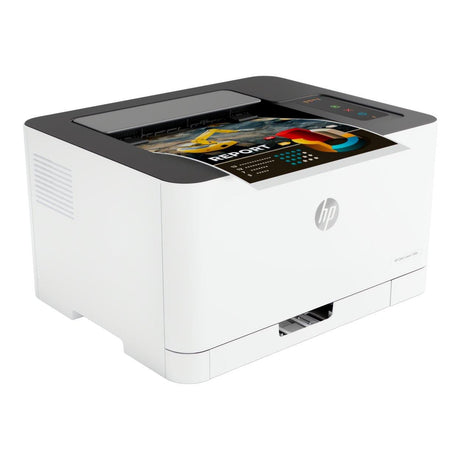
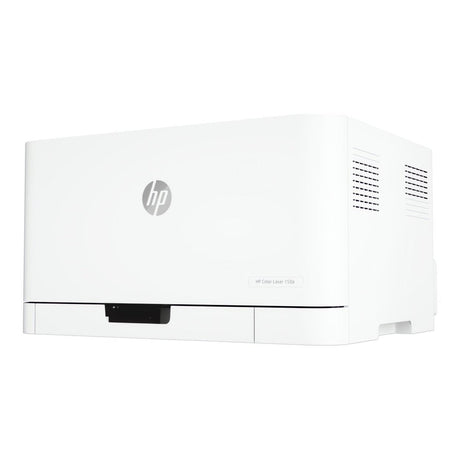
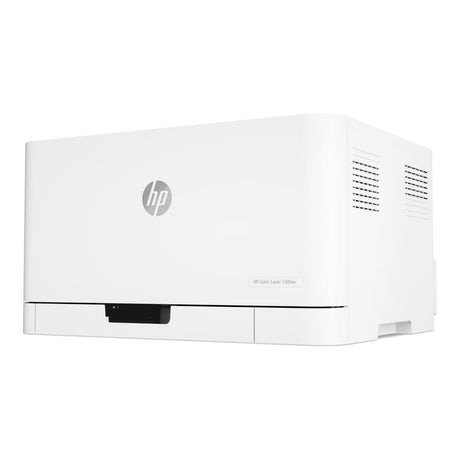
HP Color Laser 150a A4 Colour Laser Printer 4ZB94A
- Functions:Print
- Category:Laser Printers
R 5,199.00Unit price /Unavailable-
- Sale
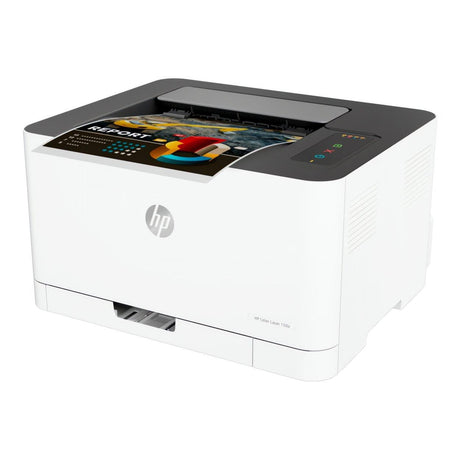
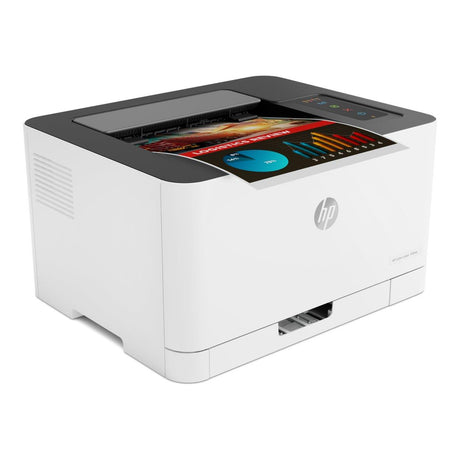
HP Color Laser 150nw A4 Colour Laser Printer 4ZB95A
- Functions:Print
- Category:Laser Printers
R 5,599.00R 5,999.00Unit price /Unavailable -
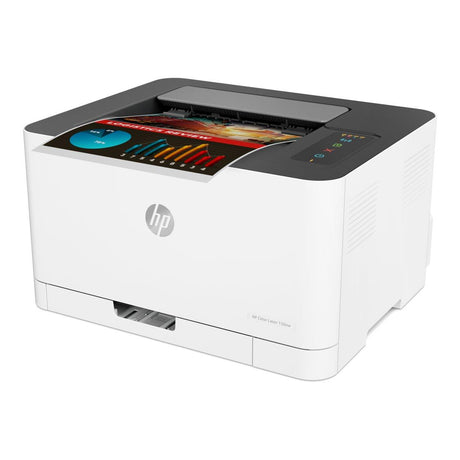
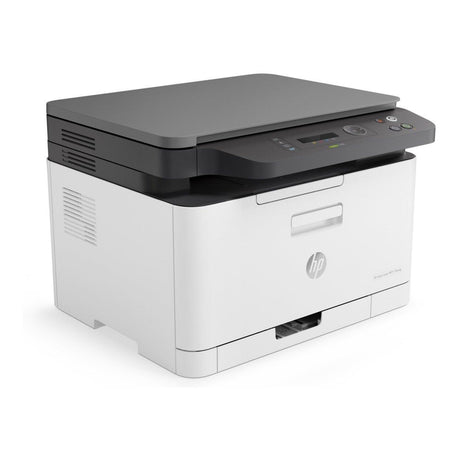
HP Color Laser MFP 178nw A4 Multifunction Colour Business Printer 4ZB96A
- Functions:-
- Category:Multifunction Printers
R 5,899.00Unit price /Unavailable-
HP LaserJet Pro MFP 3103fdn A4 Multifuntion Laser Printer 3G631A
- Functions:-
- Category:Multifunction Printers
R 7,299.00Unit price /Unavailable
HP LaserJet Pro 4003dw A4 Printer 2Z610A
- Functions:Print
- Category:Laser Printers
R 4,499.00Unit price /UnavailableHP LaserJet Pro 4003dn A4 Mono Laser Printer 2Z609A
- Functions:Print
- Category:Laser Printers
R 3,599.00Unit price /Unavailable-
HP LaserJet Pro 3303fdw A4 Multifunction Colour Laser Printer 499M8A
- Functions:Copy Print Scan
- Category:Multifunction Printers
R 8,899.00Unit price /Unavailable-
HP LaserJet Pro 3203dw A4 Colour Laser Printer 499N4A
- Functions:Print
- Category:Laser Printers
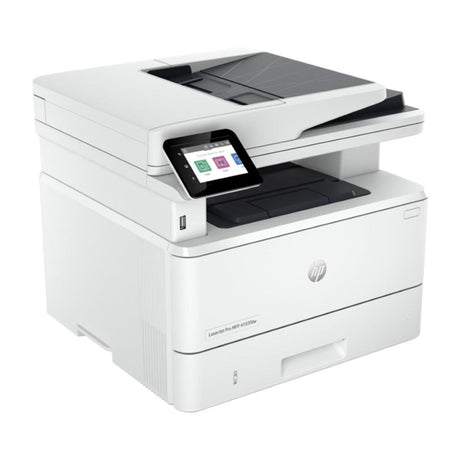
R 5,999.00Unit price /UnavailableHP LaserJet Pro 4103fdw A4 Multifunction Mono Laser Business Printer 2Z629A
- Functions:Copy Print Scan
- Category:Multifunction Printers
R 8,699.00Unit price /Unavailable-
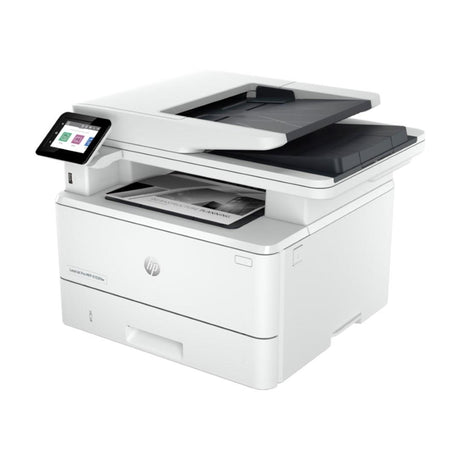
HP LaserJet Pro 4103dw A4 Multifunction Mono Laser Business Printer 2Z627A
- Functions:Copy Print Scan
- Category:Multifunction Printers
R 7,999.00Unit price /Unavailable-
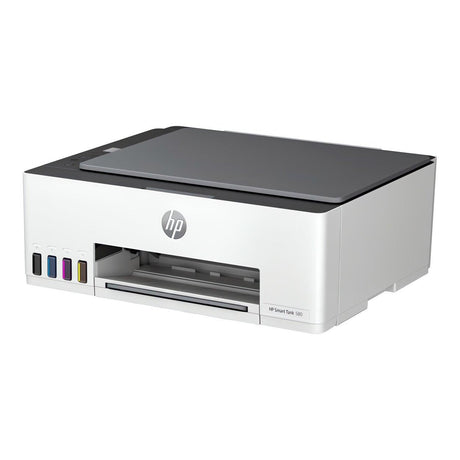
HP Smart Tank 580 All-in-One Multifunction Printer 1F3Y2A
- Functions:Copy Print Scan
- Category:Ink Tank Printers
R 2,999.00Unit price /Unavailable-
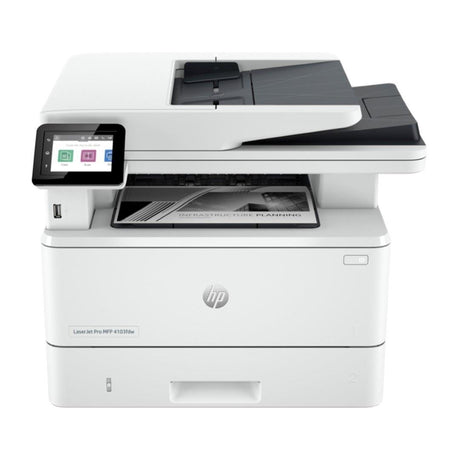
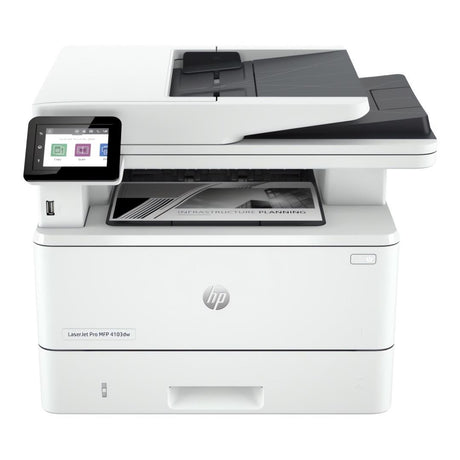
HP 4103fdn LaserJet Pro A4 Multifunction Business Printer 2Z628A
- Functions:Copy Print Scan
- Category:Multifunction Printers
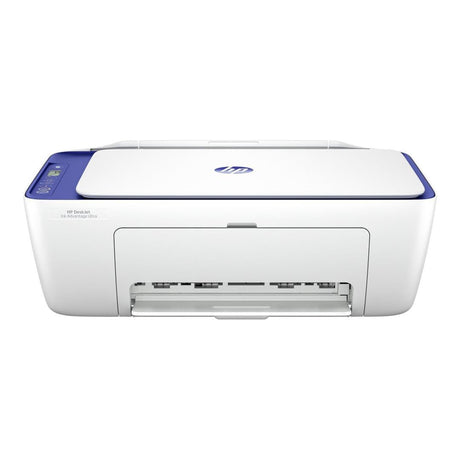
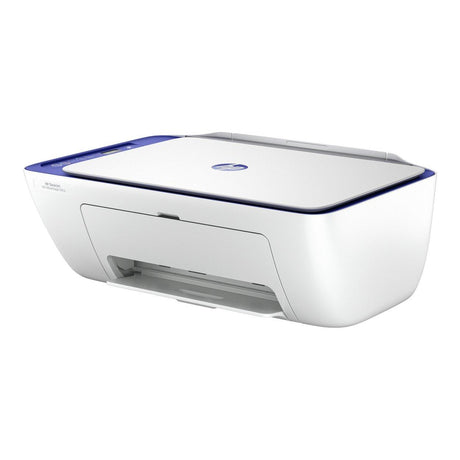
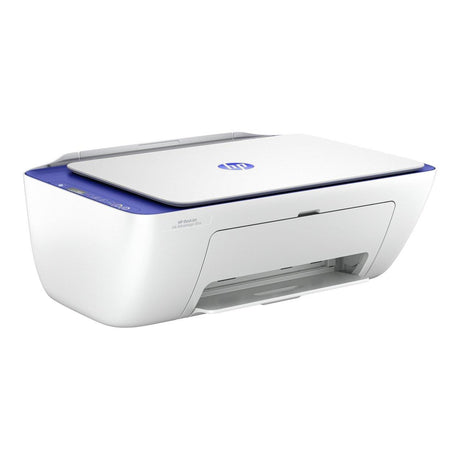
R 8,699.00Unit price /UnavailableHP DeskJet Ink Advantage Ultra 4927 All-in-One Multifunction Printer 6W7G3B
- Functions:Copy Print Scan
- Category:Multifunction Printers
R 1,550.00Unit price /Unavailable-
- Sale
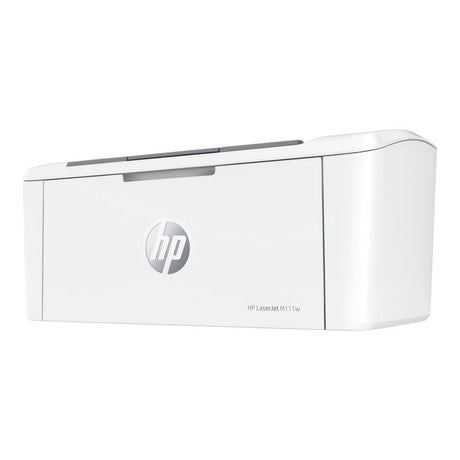
HP LaserJet M111w A4 Mono Laser Printer 7MD68A
- Functions:Print
- Category:Laser Printers
R 2,599.00R 2,999.00Unit price /Unavailable -
HP Smart Tank 720 Multifunction Color A4 Duplex Inkjet Printer 6UU46A
- Functions:Copy Print Scan
- Category:Ink Tank Printers
R 5,199.00Unit price /Unavailable-
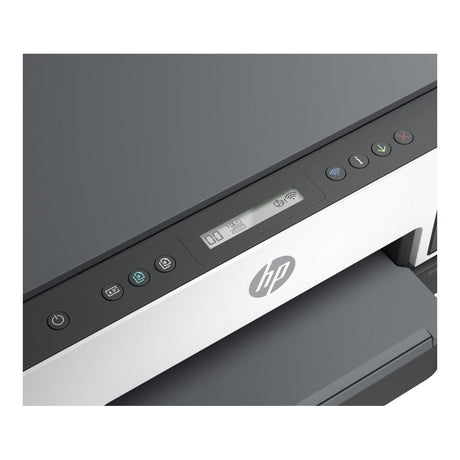
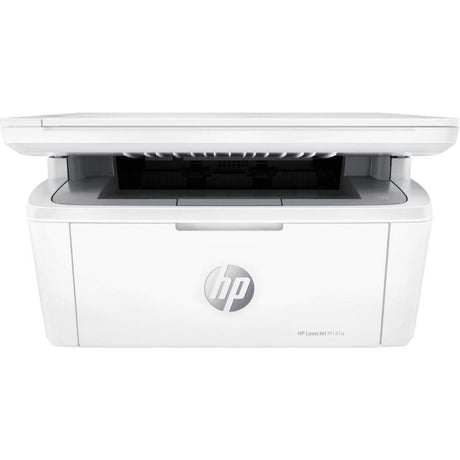
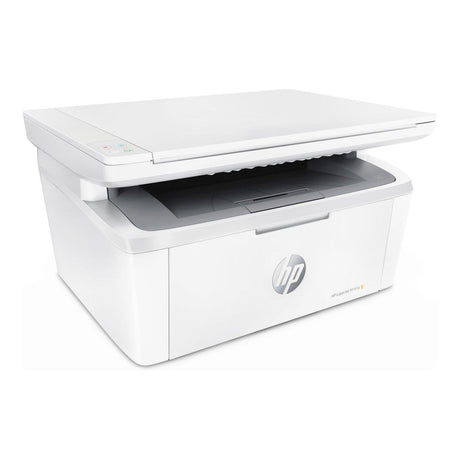
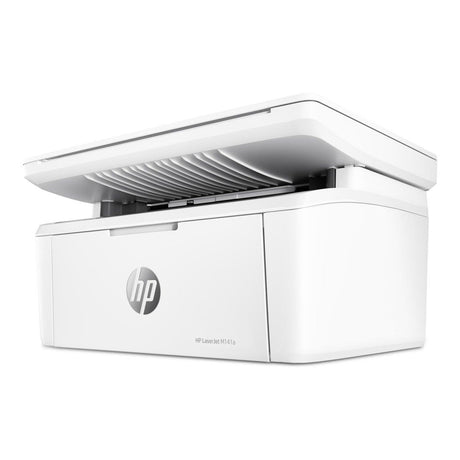
HP MFP Mono LaserJet M141a A4 Multifunction Laser Office Printer 7MD73A
- Functions:Copy Print Scan
- Category:Multifunction Printers
R 2,850.00Unit price /Unavailable-
HP LaserJet Pro 3003dw A4 Mono Laser Printer 3G654A
- Functions:Print
- Category:Laser Printers
R 4,599.00Unit price /Unavailable-
HP LaserJet Pro 4303dw A4 Multifunction Colour Laser Business Printer 5HH65A
- Functions:Copy Print Scan
- Category:Multifunction Printers
R 9,999.00Unit price /Unavailable-
HP LaserJet Pro 4303fdn A4 Multifunction Colour Laser Business Printer 5HH66A
- Functions:Copy Print Scan
- Category:Multifunction Printers
R 11,699.00Unit price /Unavailable-
HP LaserJet Pro 4303fdw A4 Multifunction Colour Laser Business Printer 5HH67A
- Functions:Copy Print Scan
- Category:Multifunction Printers
R 12,299.00Unit price /Unavailable-
HP Color LaserJet Pro 4203dn Colour A4 Printer
- Functions:Print
- Category:Laser Printers
R 8,999.00Unit price /Unavailable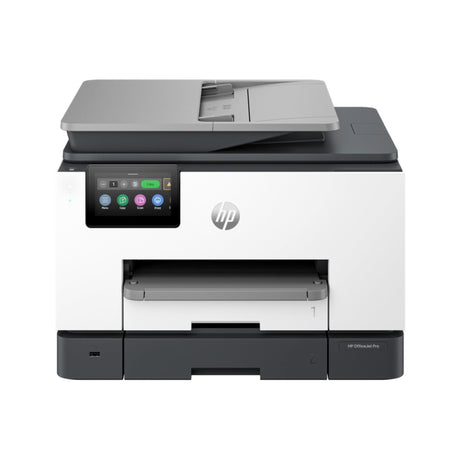 Sale
SaleHP Officejet Pro 9130 A4 Multifunction Colour Inkjet Printer 404K9C
- Functions:Copy Print Scan
- Category:Multifunction Printers
R 4,999.00R 5,699.00Unit price /Unavailable